
Tiny Lamp Shade

I'm getting old so that means I have to go to the bathroom in the middle of the night sometimes. I need to be able to see so that I don't fall and break a hip on the way to the toilet. I had recently bought a tiny USB powered RGB LED with a MCU inside of it that was programmed to change colors and patterns whenever you touched the outside casing. Before I bought it I noticed in the description in had a warm colored flickering candle mode which I thought would be perfect for a nightlight. At $4 I figured if it didn't work I wasn't out much. Here is the listing from AliExpress.
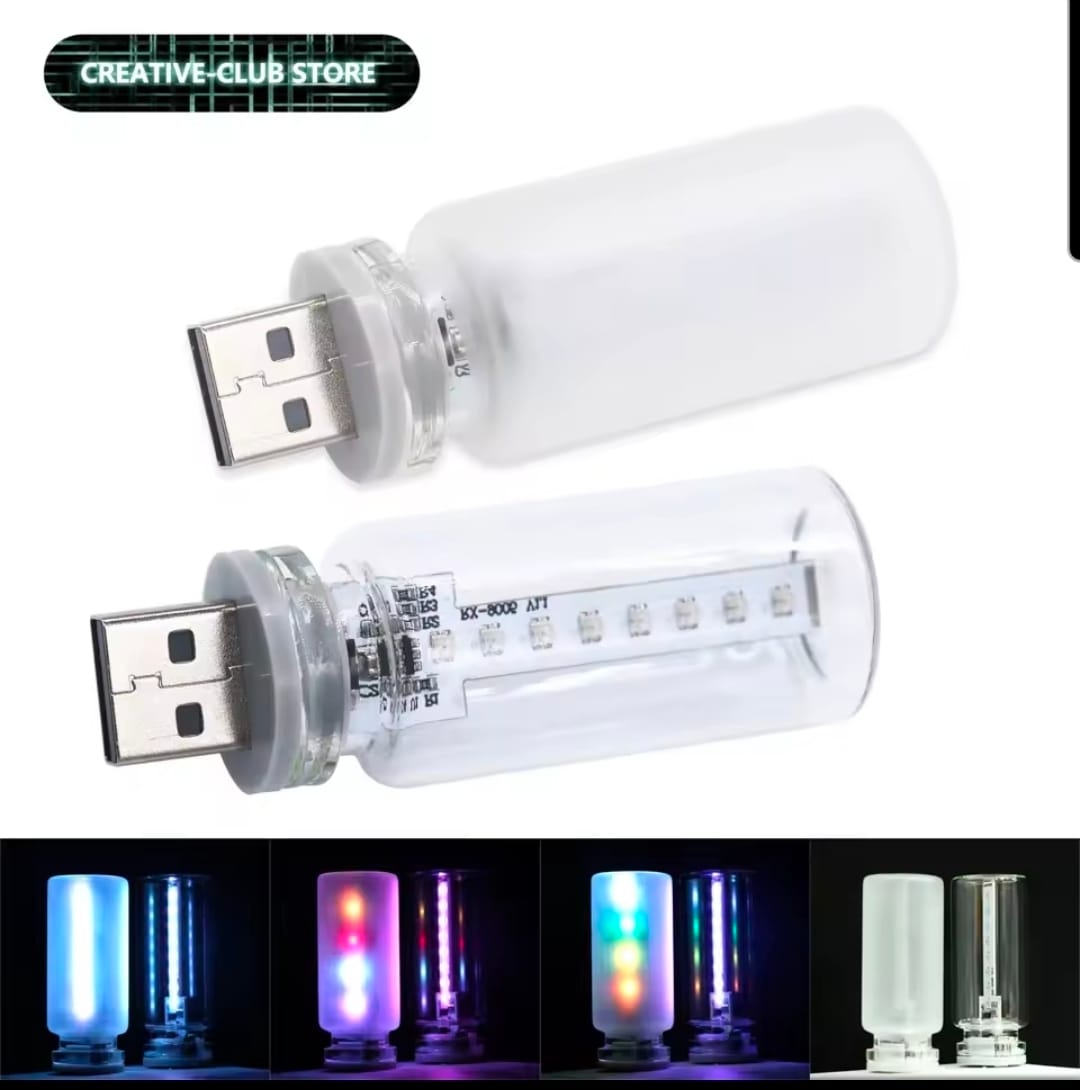
I got the frosted version because I was mainly interested in the flickering candle light mode and didn't care about seeing the actual LED strip inside the casing. The light worked great but there was one issue, it was way too bright.
Video of bright light
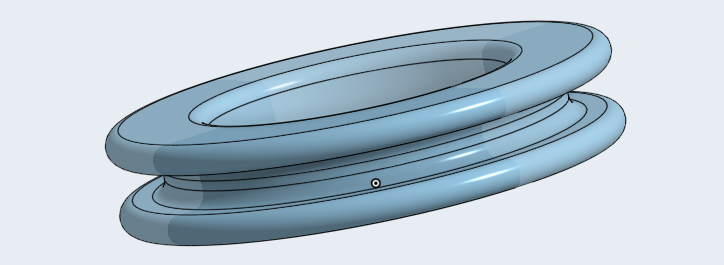
What I needed was a shade with access from the top so that I could touch the lamp housing to change different modes when I wanted. The difficulty with this is that the shade had to be attached to the lamp itself so that I could move the light around if I wanted to plug it somewhere else and it wouldn't be dependent on the USB outlet geometry. The above video gives a clue as to how I solved this. The shade can be rigid, but the way it attaches must be flexible and removable. The base attachment I would print out of flexible TPU while the shade would be a material that is opaque enough to shade the brightness but still transparent enough to see the glow. I chose a semi-transparent PETG that I already had for the shade.
Video of grommet being handled
Standard TPU is not nearly as flexible as I thought it would be as you can see by the above video. In my mind I had envisioned something more like a rubber gasket but it was just slightly softer than PETG, kind of like a cheap cellphone case that you flex onto your phone. The tolerances had to be just right so that it would barely fit over the base of the LED without coming off. I actually ended up placing it in warm water to soften it slightly before stretching it over the lamp. Once it cooled it wasn't going anywhere.
Once I got it onto the lamp I could put it into the shade and was done. See the results below. If you would like to replicate my work, I've attached the step files below.
Shade video step by step. Music is https://freemusicarchive.org/music/Mesu_Kasumai/bio