
Hosting Windows 11 in a Docker Container on ProxMox
You probably know you can host a Windows environment within a VM, but did you know you can also host Windows in a Docker container? Within another container? On a hypervisor? Accessed via web browser? I'll show you how.
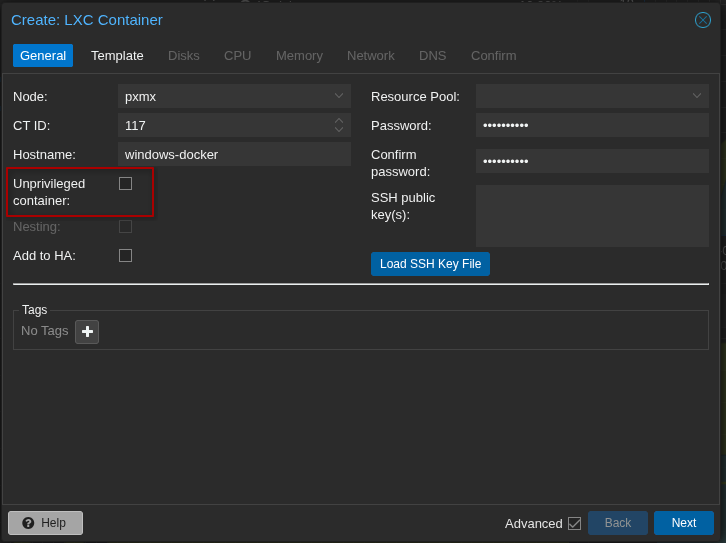
I'll be using ProxMox as my hypervisor for this demonstration, but it should be applicable with a few adjustments to other hypervisors.We'll start by creating a LXC (Linux container environment) from the web interface.
The key here is to create a privileged container, as Windows needs access to your host's KVM as well as TUN/TAP for networking.
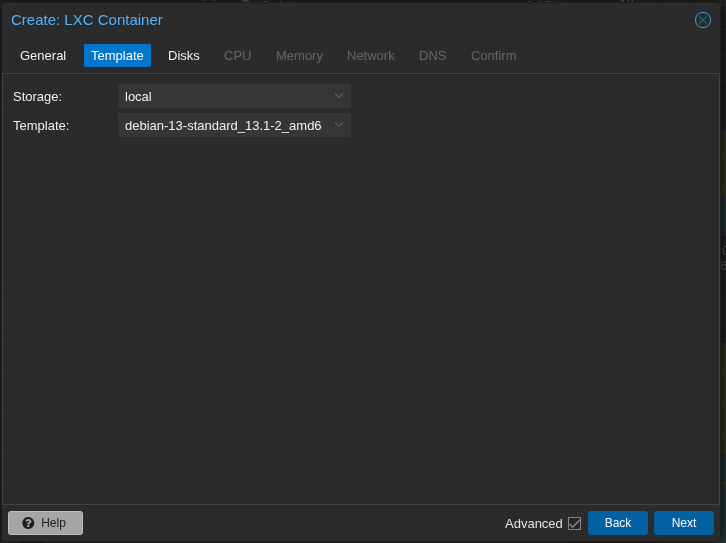
I'll be using Debian 13 Trixie as my container environment.
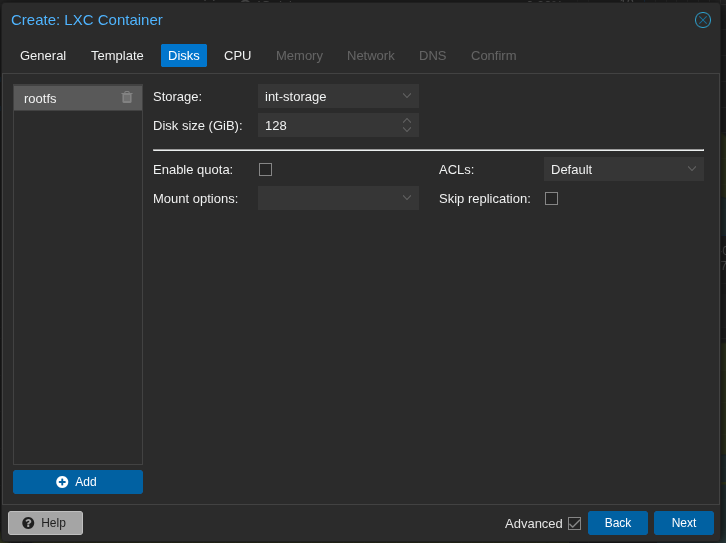
You will need a larger disk size because after the Windows image is downloaded you will need enough room to decompress it as well. 128GB should be sufficient.
I recommend 4 cores to run Windows 11, more or less depending on the version you choose.

Windows is notoriously RAM hungry but you still don't need the "recommended" 16GB of RAM for Windows 11 when running in a container. 6GB with 1GB swap is sufficient.

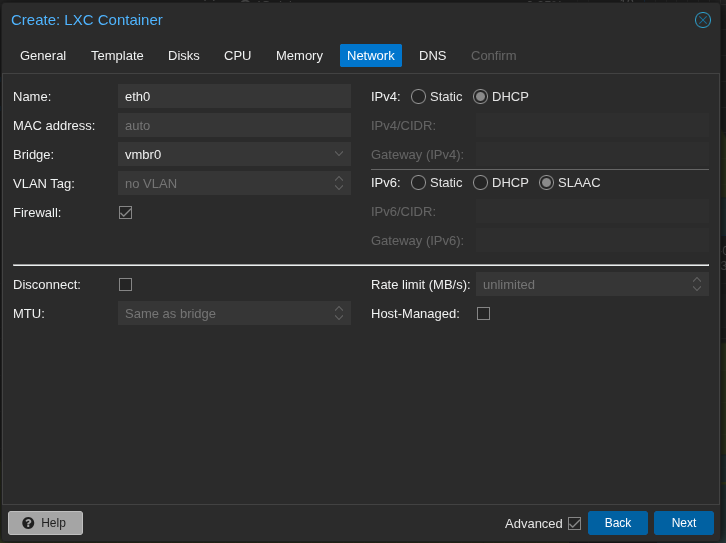
For networking IPv4 should be DHCP and IPv6 should be SLAAC. Any address reservations should be set via router.
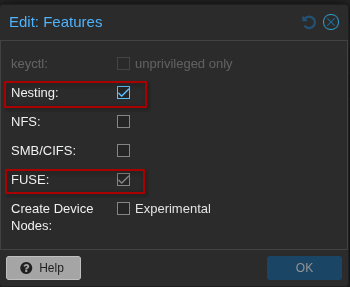
Leave DNS setting as they are and confirm your choices but DO NOT start the container yet. Set these options first, Nesting and FUSE to on.
Next from the host we will adjust the LXC configuration file. The LXC has not been started yet. Access the host shell via terminal or browser and adjust the conf.
# vi /etc/pve/lxc/<YOUR-CONTAINER-ID>.confAdd these lines to the bottom of your config so that the host's KVM and networking are accessible from the container:
# Allow KVM device access
lxc.cgroup2.devices.allow: c 10:232 rwm
lxc.mount.entry: /dev/kvm dev/kvm none bind,optional,create=file

# Allow TUN device access
lxc.cgroup2.devices.allow: c 10:200 rwm
lxc.mount.entry: /dev/net/tun dev/net/tun none bind,optional,create=file
Your entire conf should now be similar to the following:
arch: amd64
cores: 4
features: fuse=1,nesting=1
hostname: windows
memory: 6144
net0: name=eth0,bridge=vmbr0,firewall=1,hwaddr=BC:24:11:55:D9:97,ip=dhcp,ip6=auto,type=veth
ostype: debian
rootfs: int-storage:vm-116-disk-0,size=128G
swap: 1024
lxc.cgroup2.devices.allow: c 10:232 rwm
lxc.mount.entry: /dev/kvm dev/kvm none bind,optional,create=file
lxc.cgroup2.devices.allow: c 10:200 rwm
lxc.mount.entry: /dev/net/tun dev/net/tun none bind,optional,create=file
After all this you can finally start your container. Go through the normal docker on LXC setup steps (update, install Docker, create a user for Docker and add to the docker group, etc). Then we will take advantage of what the wonderful folks at Dockurr have done with their Windows inside Docker image. Create a docker compose file as your docker user and pull the image:
$ mkdir windows && cd windows
$ vi docker-compose.yml
From Dockurr compose:
services:
  windows:
    image: dockurr/windows
    container_name: windows
    environment:
      VERSION: "11"
    devices:
      - /dev/kvm
      - /dev/net/tun
    cap_add:
      - NET_ADMIN
    ports:
      - 8006:8006
      - 3389:3389/tcp
      - 3389:3389/udp
    volumes:
      - ./windows:/storage
    restart: always
    stop_grace_period: 2m
Then:
$ docker compose pull
$ docker compose up
I recommend not daemonizing the container just yet and just watching the install or if you do want to use the -d argument after up, watch the live Docker logs, as the process takes quite a while. After the image is pulled and fully extracted you can go to <your guest ip address>:8006 and watch the installation via browser (Dockurr has implemented a built-in noVNC viewer). After installation (and several auto reboots) you should be presented with something like below:
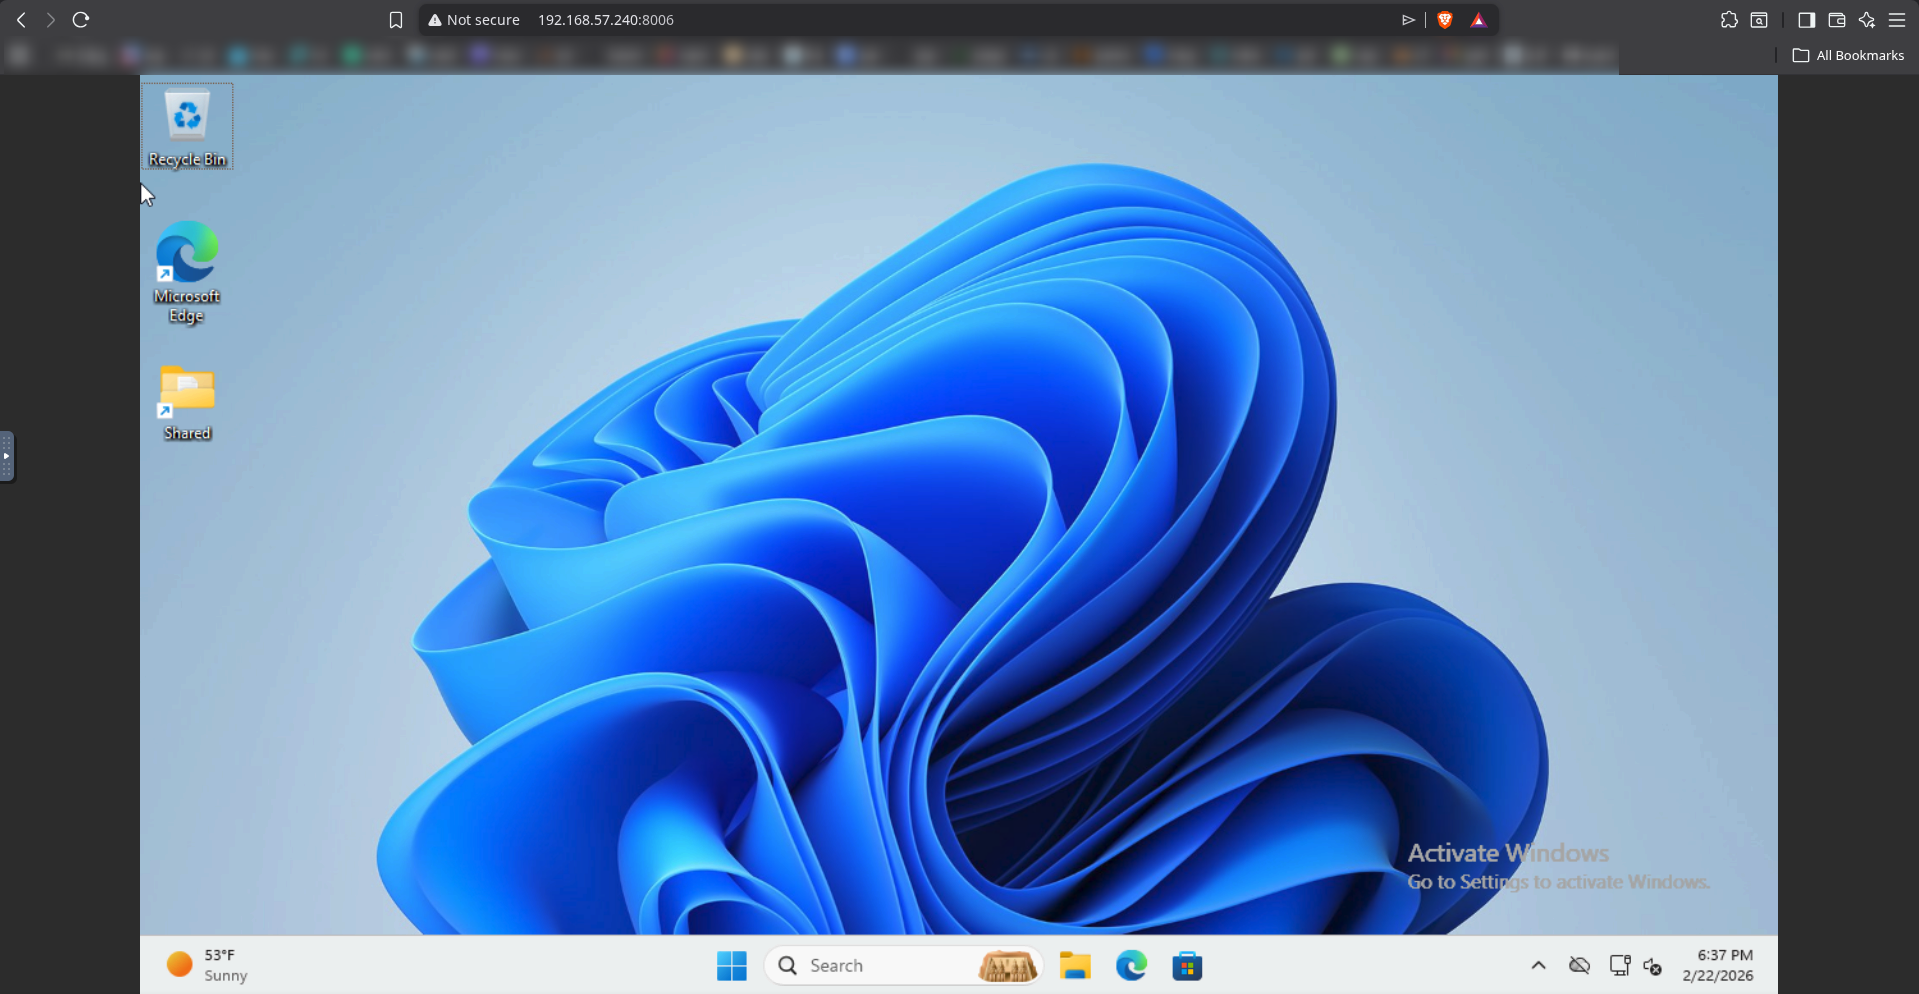
If everything worked out the way it should, you should be able to stop the container via ctrl-c and start it back up in background mode via docker compose up -d . A word of caution, NEVER EXPOSE THIS TO THE INTERNET. Not only is this process inherently insecure, but it's also Windows. This should only be used when for some reason you HAVE to use Windows locally and is meant to be a disposable container so that you only have to sully your hardware with Microsoft as little as possible. I also recommend that you run this only when Windows is needed and shut it down when not in use.