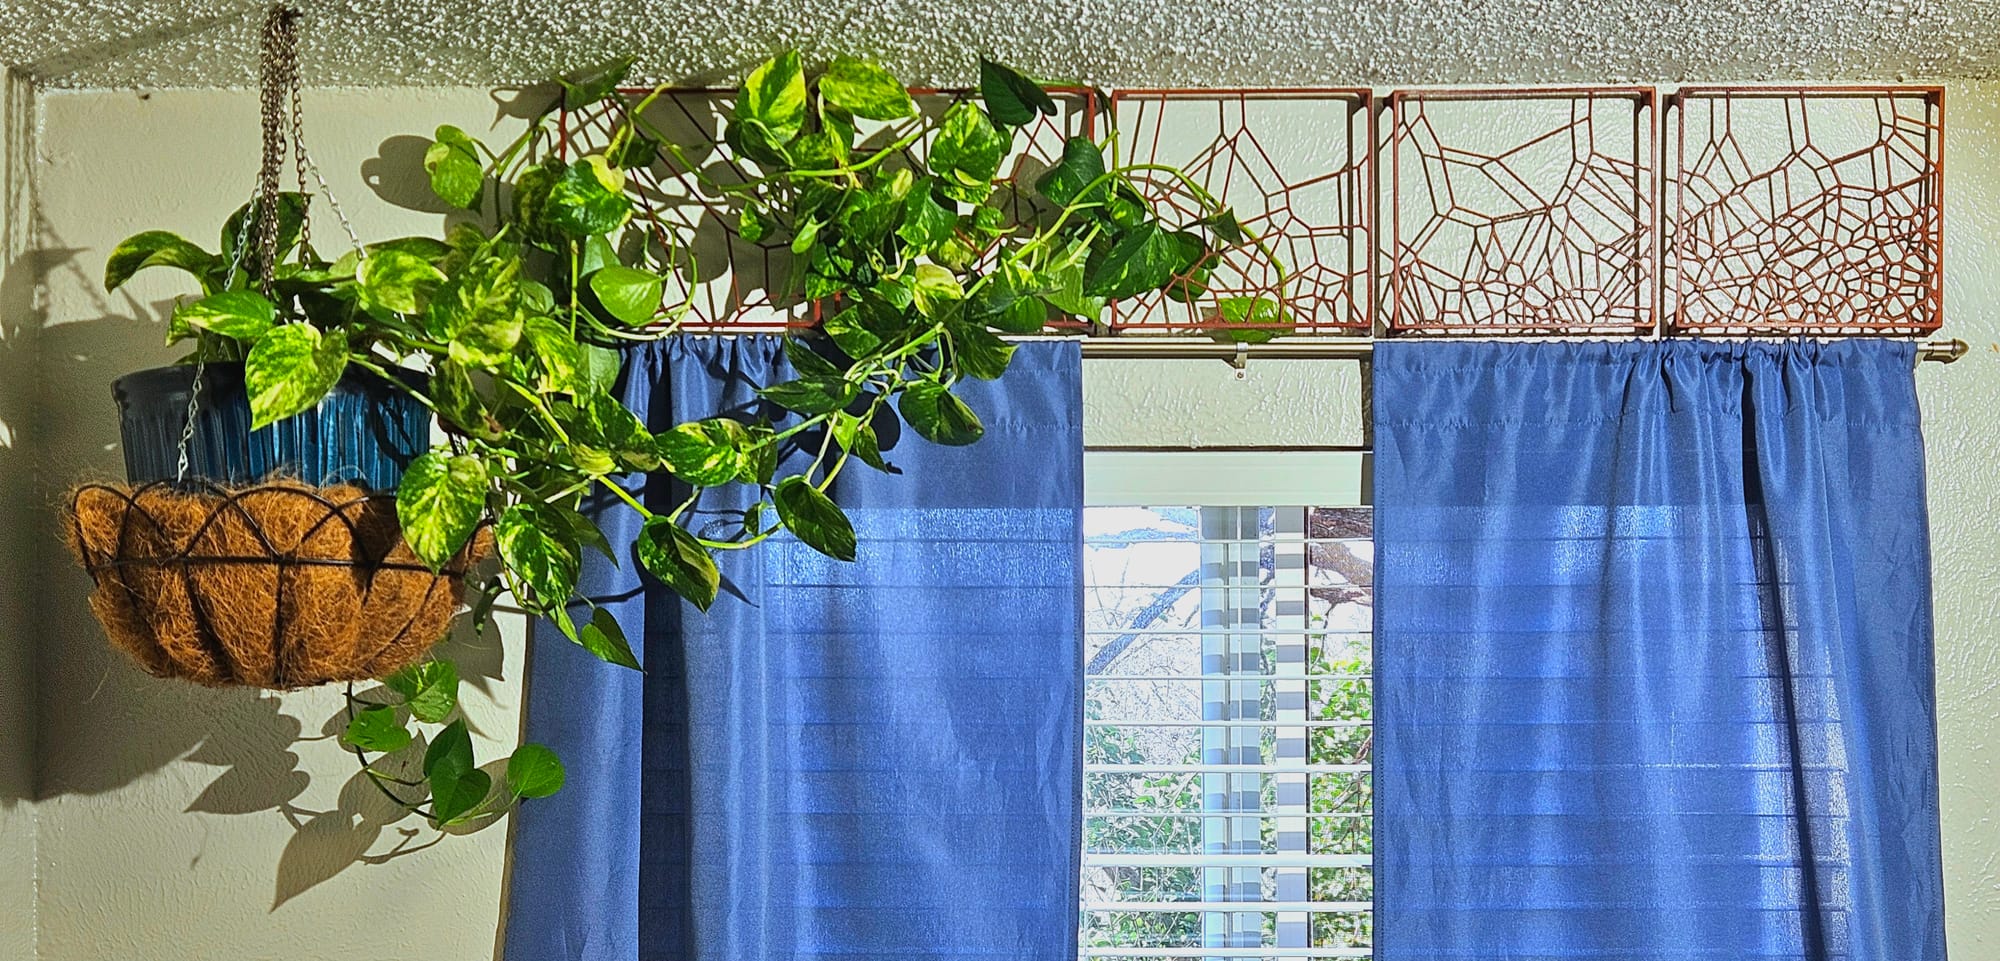
Climbing Plant Lattice

Indoor plants like pothos, philodendron, monstera, etc. do best when having a structure to climb rather than stems laying on the floor or suspended in the air. The lattices I found online were all very bland (crosshatches) or lacked imagination (hexagons). They did not have clear ways to mount them either. The great thing about 3D printing is you have access to infinite customization options. All it takes is a little imagination.
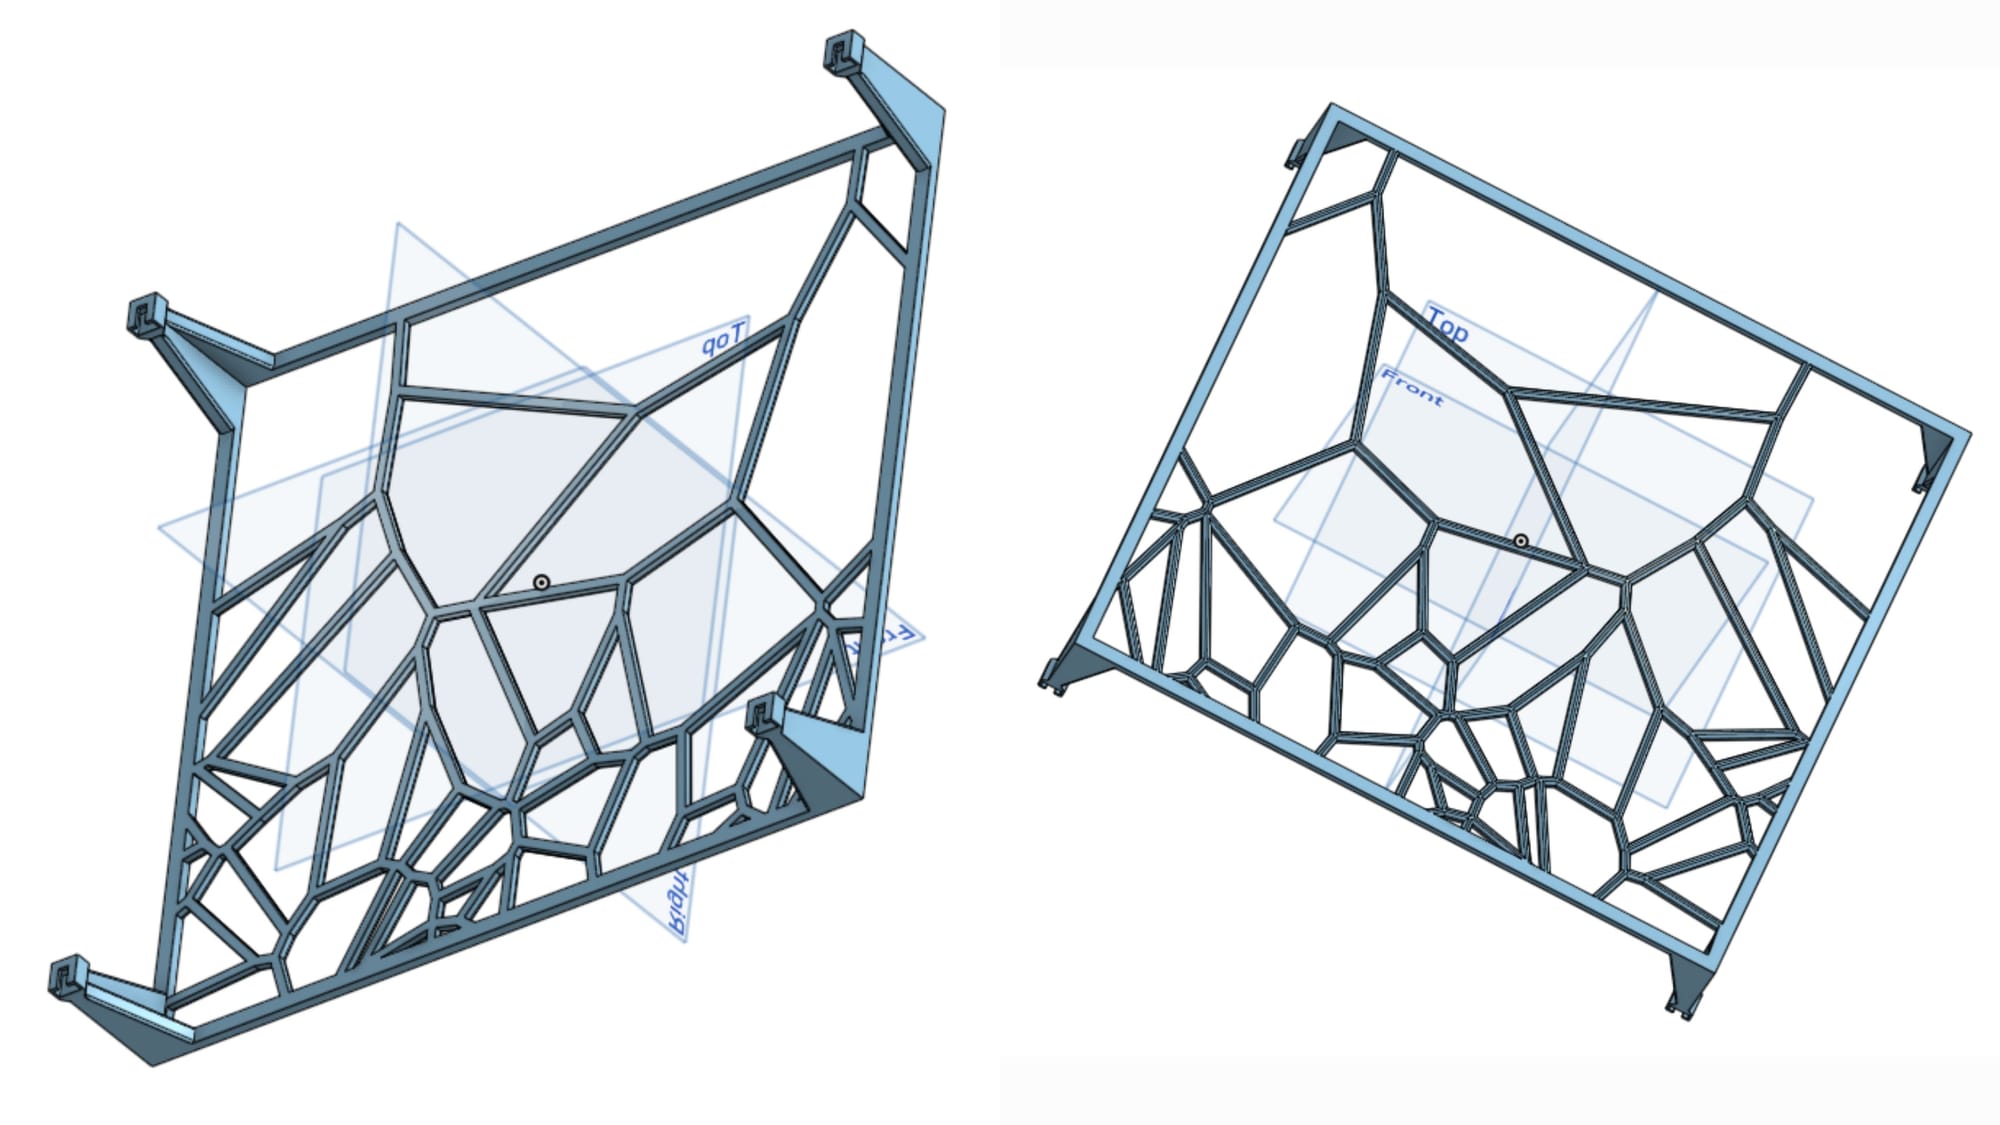
I've recently discovered Voronoi diagrams, tessellated patterns created by random seeds and the boundaries being equidistant from the seeds. A common pattern may be something like below:
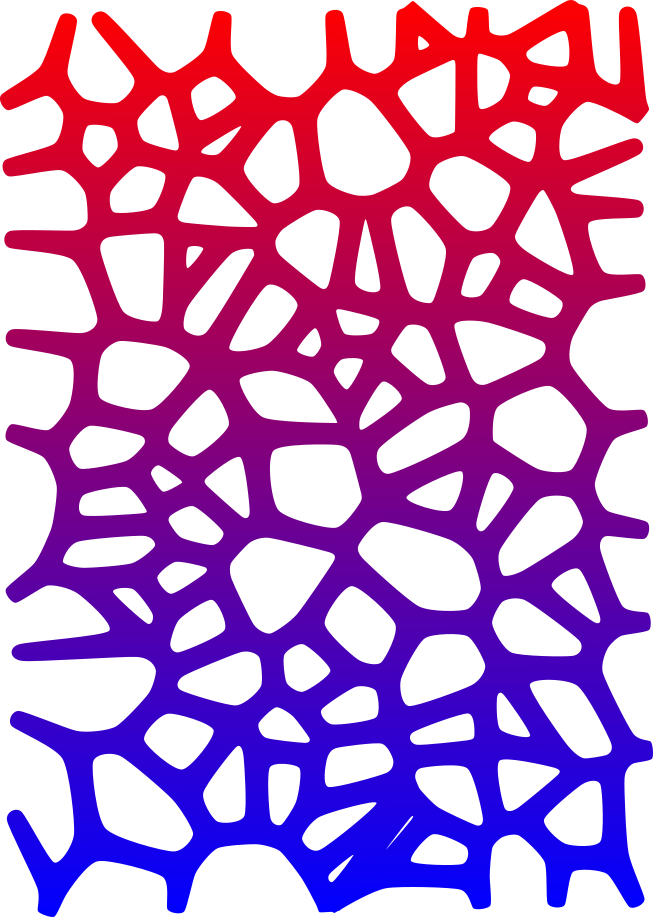
The goal was to generate a pleasing pattern that could be stretched across several panels so that all panels shared an equal part of the same pattern. I also wanted the pattern to progress from less complex to more complex as the eye moved from left to right. I found an online Voronoi pattern generator here and tweaked it until I had something that would stretch across 5 250 mm panels. From there I exported the code for an SVG, brought it into Inkscape, and cleaned and simplified the pattern before exporting it to DXF so that I would have something that OnShape could work with.
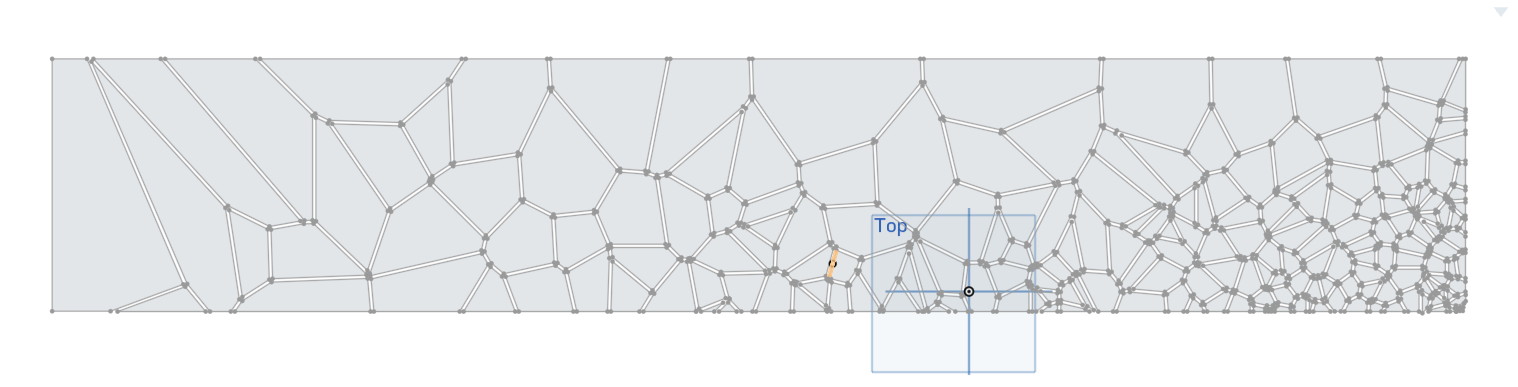
After bringing it into OnShape there was more cleanup to do to make sure the lattice itself would print correctly. I wanted all boundaries to be the same width and no open spaces or holes within the pattern that would fail to render to a CAD extrusion.
The basic shape of the panel is pretty simple. I needed a flat plane to remove material from according to the Voronoi pattern, and a way to mount the panel to the wall as simply as possible while providing standoff room so that the stems and leaves could move behind the panel. I settled on a mount design that would slip over existing screws in the wall and would need no other way to attach. Since I want the design to be portable and efficient, printing supports should not be needed either.
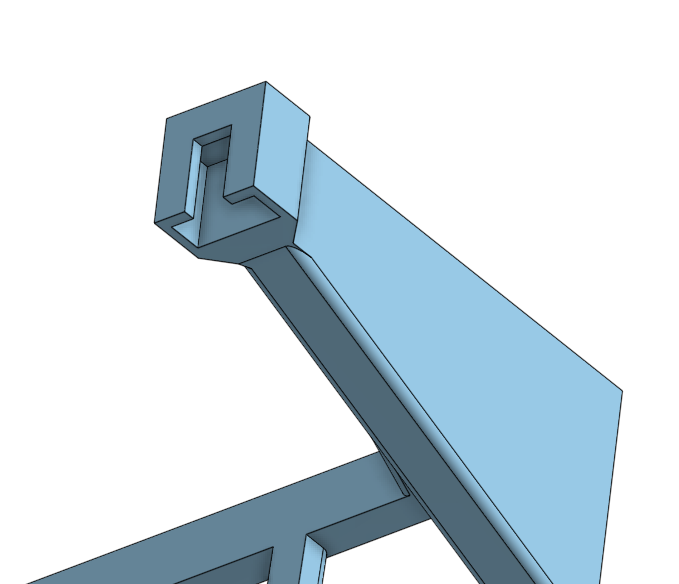
The screw insert is small enough that the plastic can easily bridge over the empty space during printing. The panel is printed face down so that the front side is smooth and absent of layer lines. Chamfers are added to the mount to provide strength and fillets on the sides to reduce artifacting by sudden axis shifts. A small chamfer is added to to each lattice structure so that it's not perfectly flat on the front and manufactured looking.
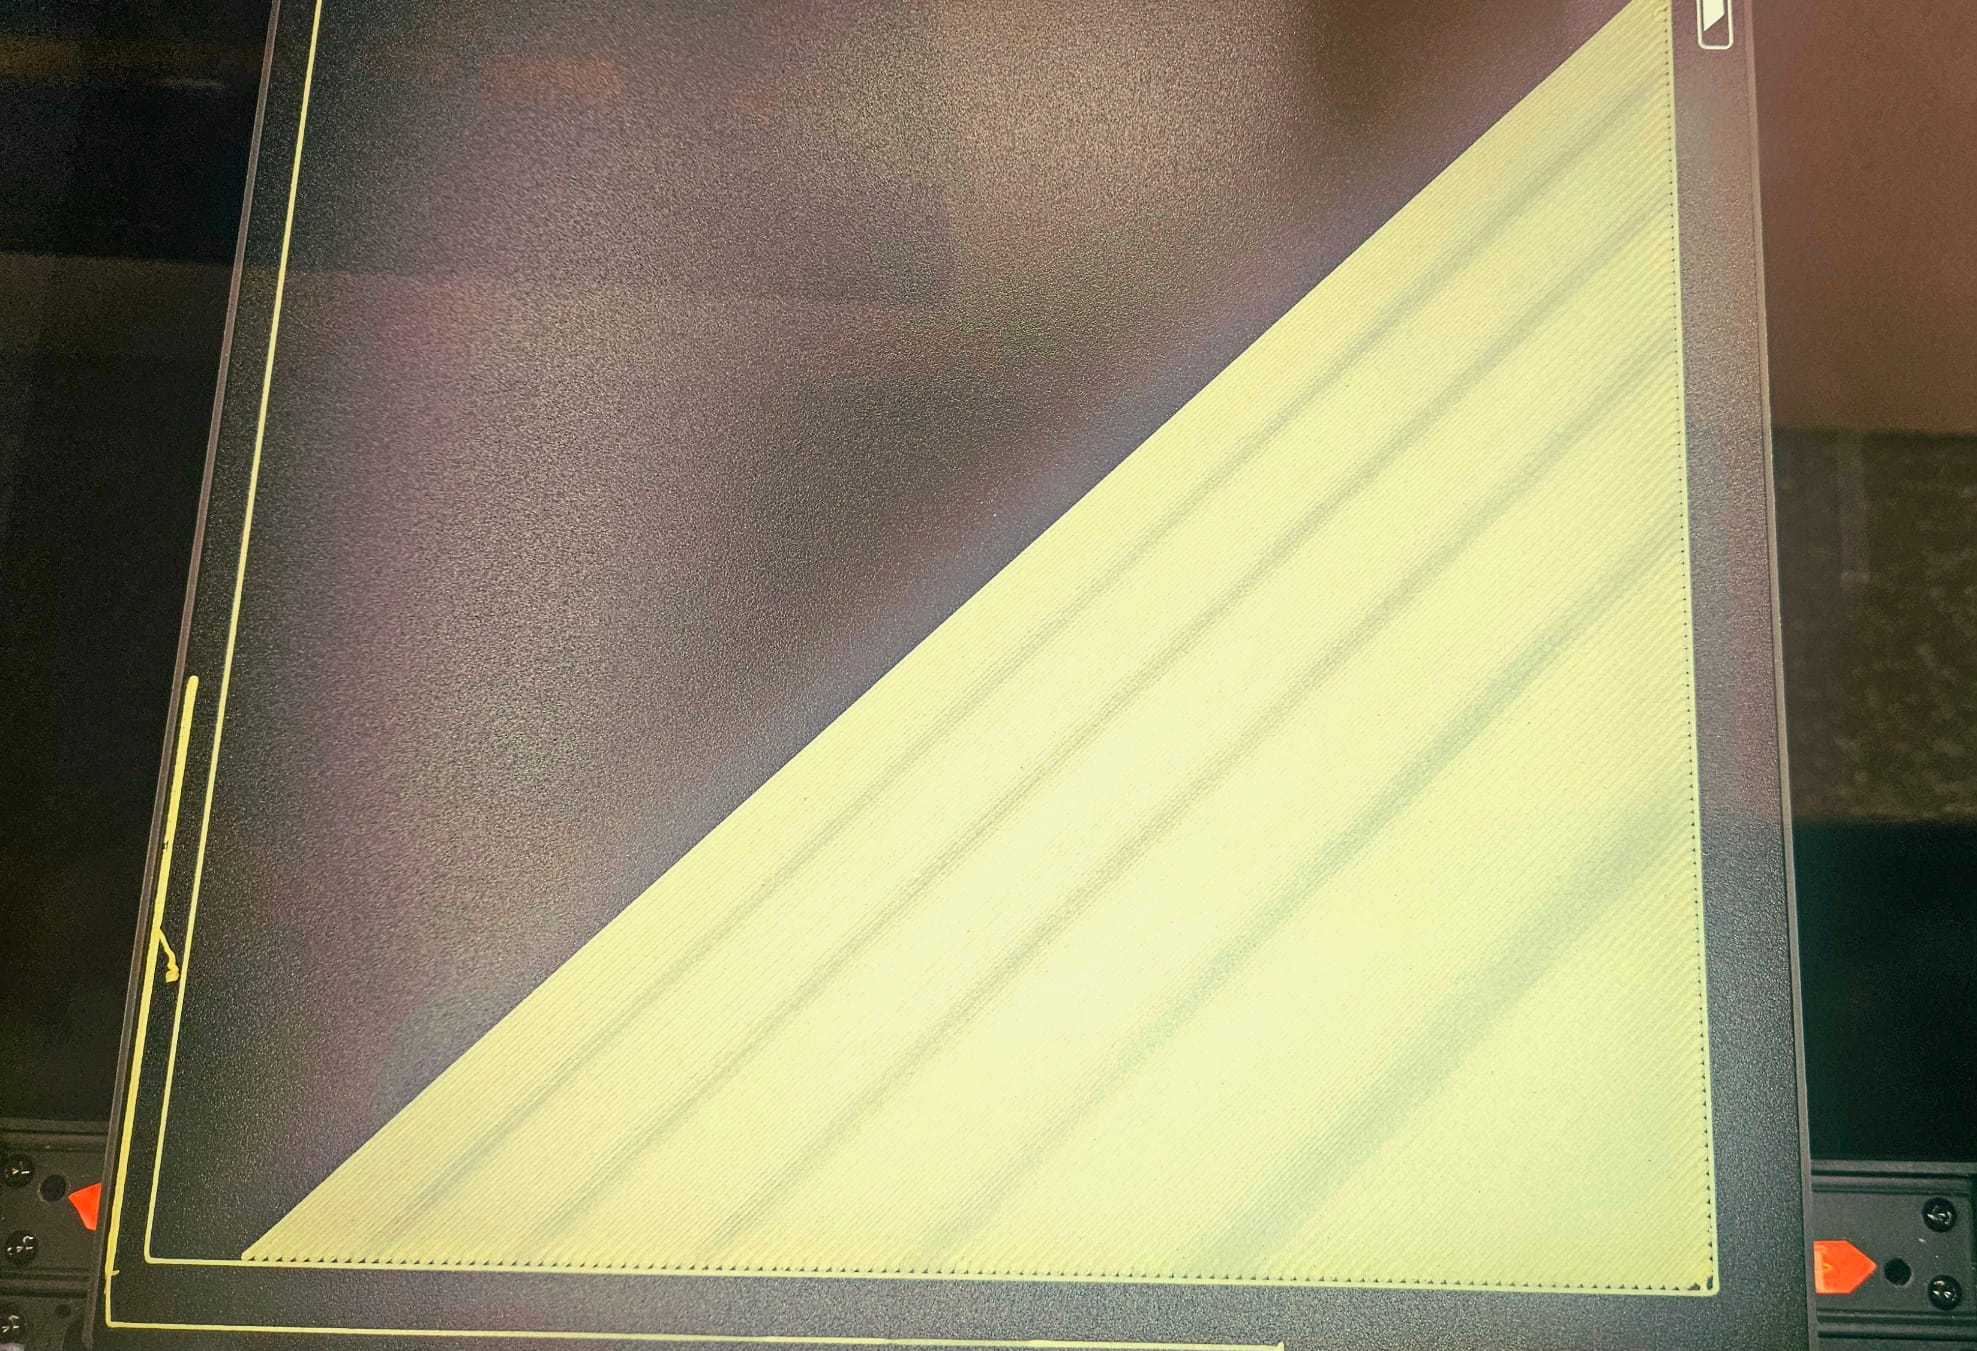
After a few prototyping runs, everything looked as it should and I decided on a wood PLA by Elegoo for the final print. Wood PLA is regular PLA with a wood powder mixed in. You can sand it and stain it just like you would real wood. It's best to run with a larger nozzle if available as it tends to clog and doesn't melt as neatly as standard PLA, but if you can dial in your settings it can look really good. The wood PLA I used has subtle coloring throughout to simulate wood grain as you can see by this layer test.
Sanding probably was the most time consuming part of the process as PLA even though brittle is very hard. The lattices had lots of little nooks and crannies so it all had to be sanded by hand. If you don't sand the piece, the layer lines stand out and the stain does not penetrate. It will just look like brown painted plastic instead of stained wood.
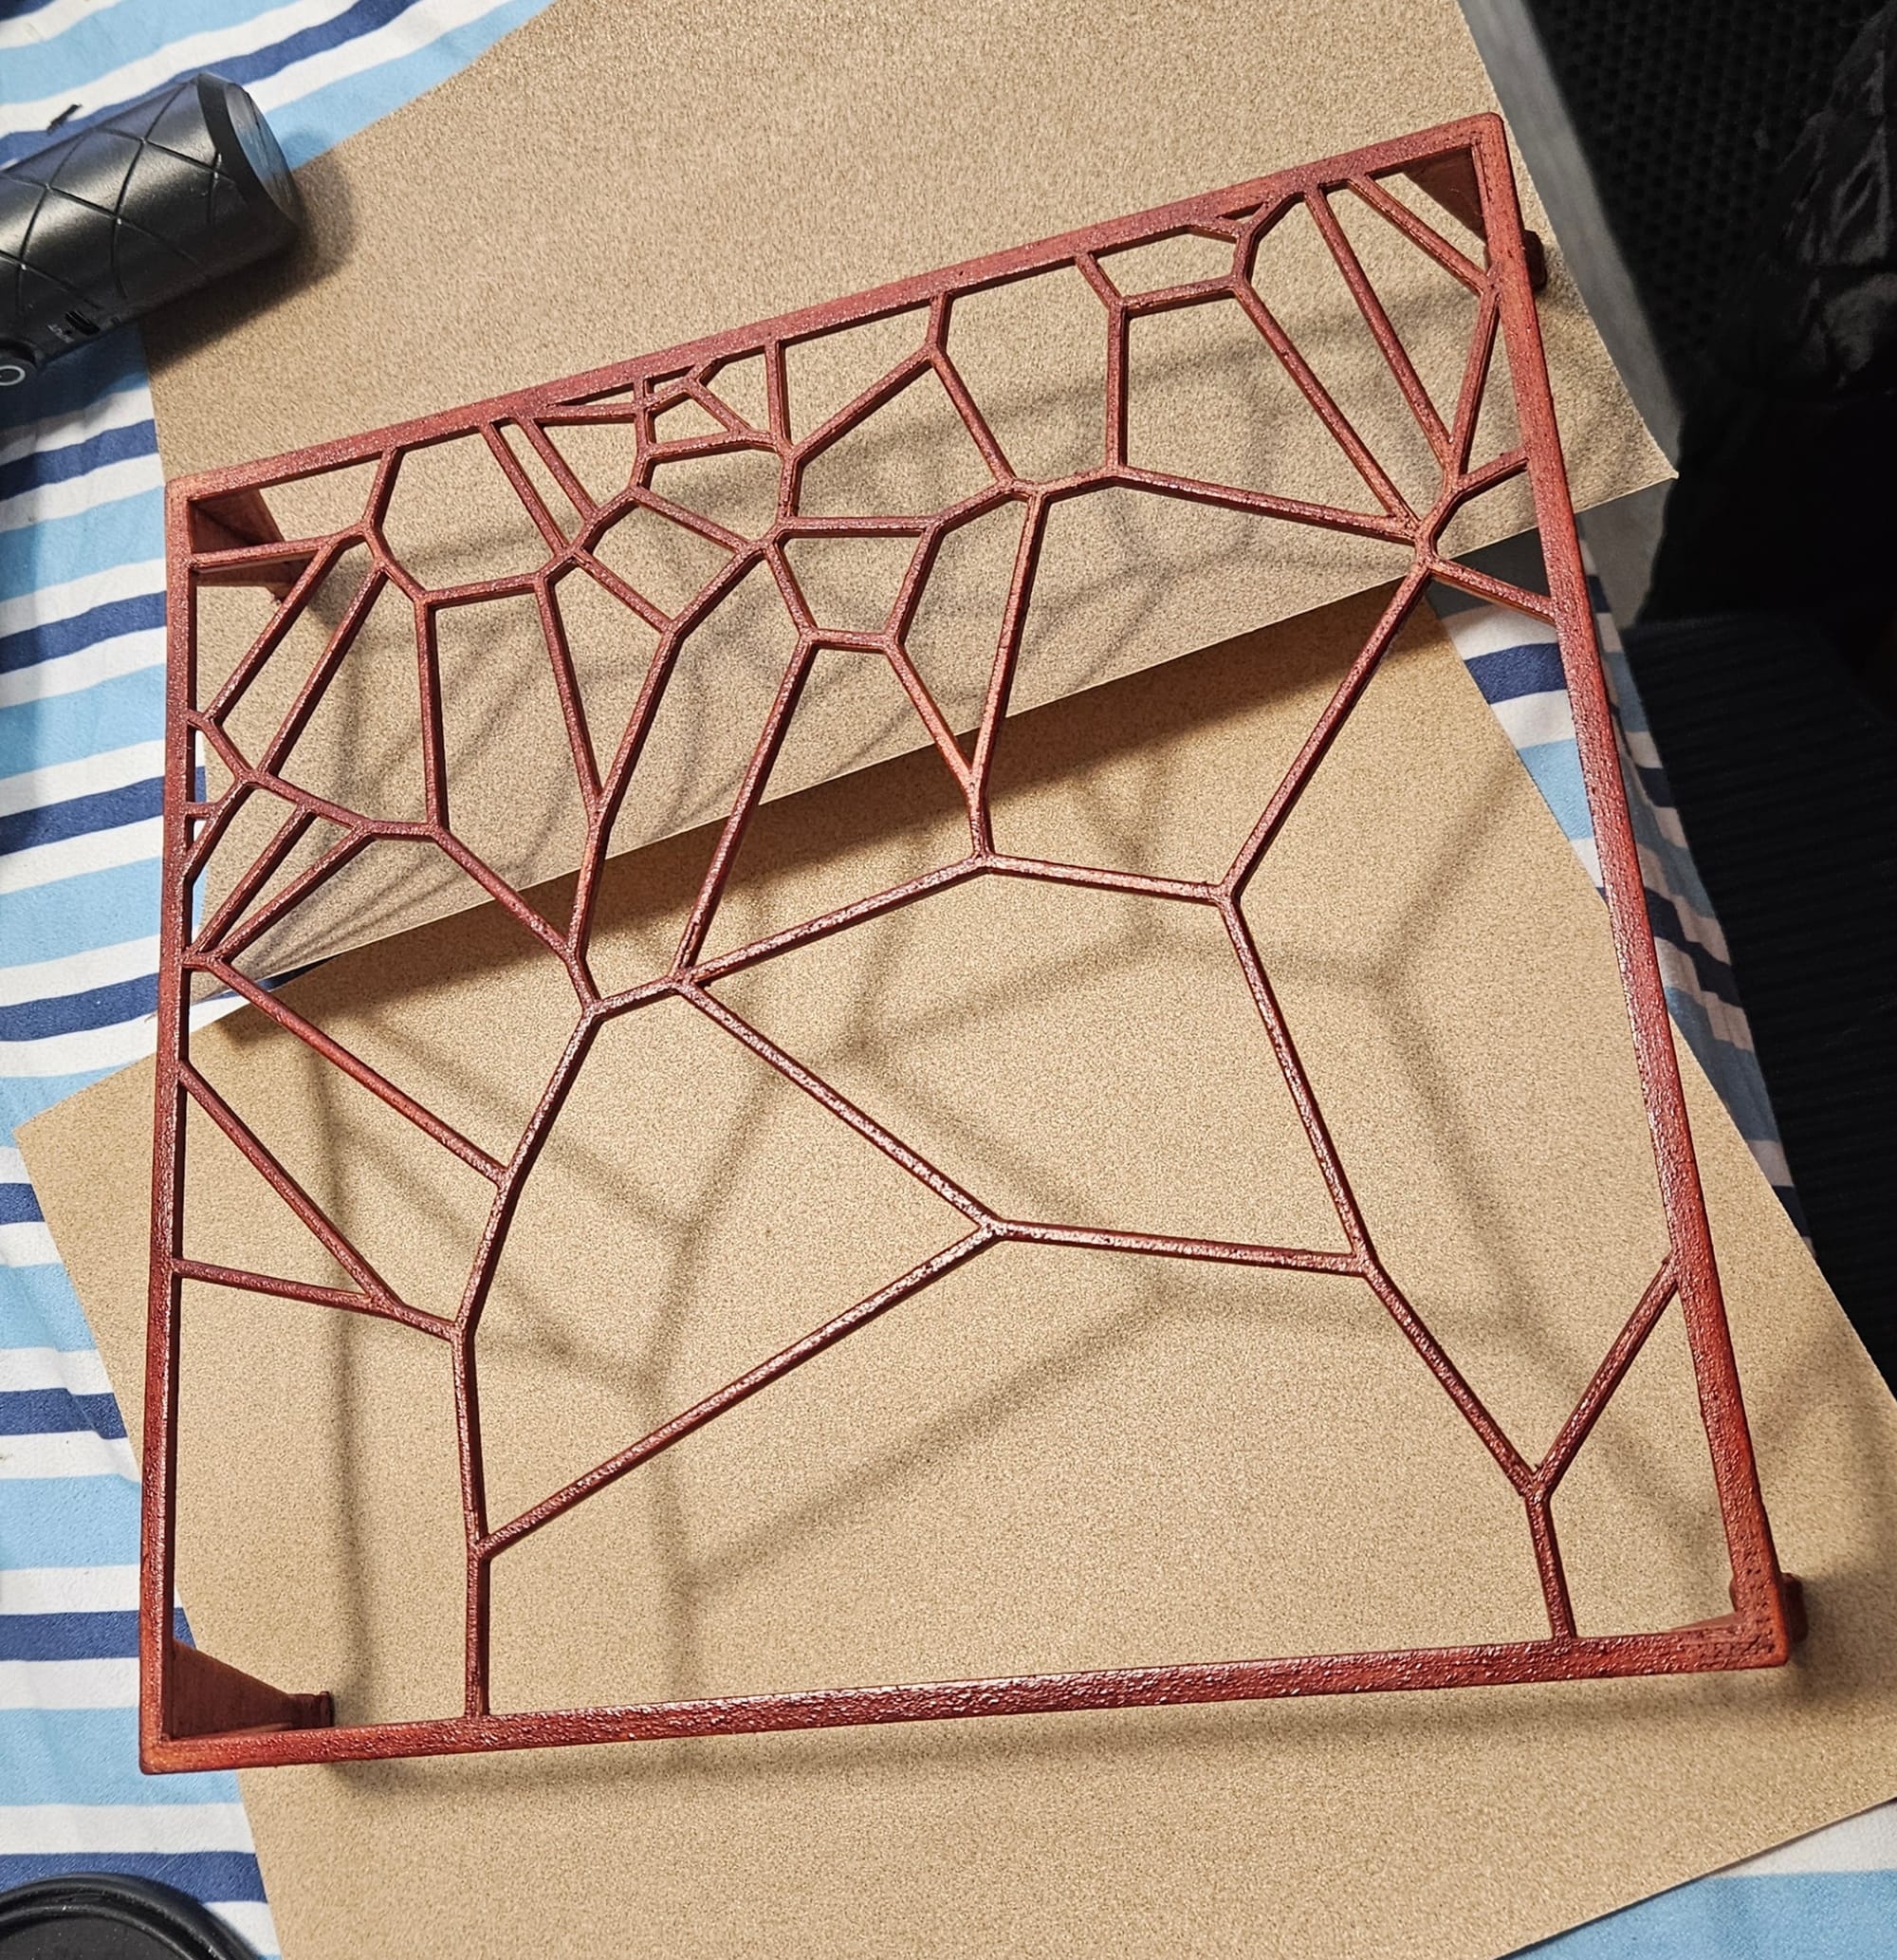
With the pieces printed, about three coats of mahogany stain were added to each one, allowing time to dry in between coats. I noticed that one coat was not enough because you are still basically staining plastic and even with sanding it does not absorb as well as regular wood.
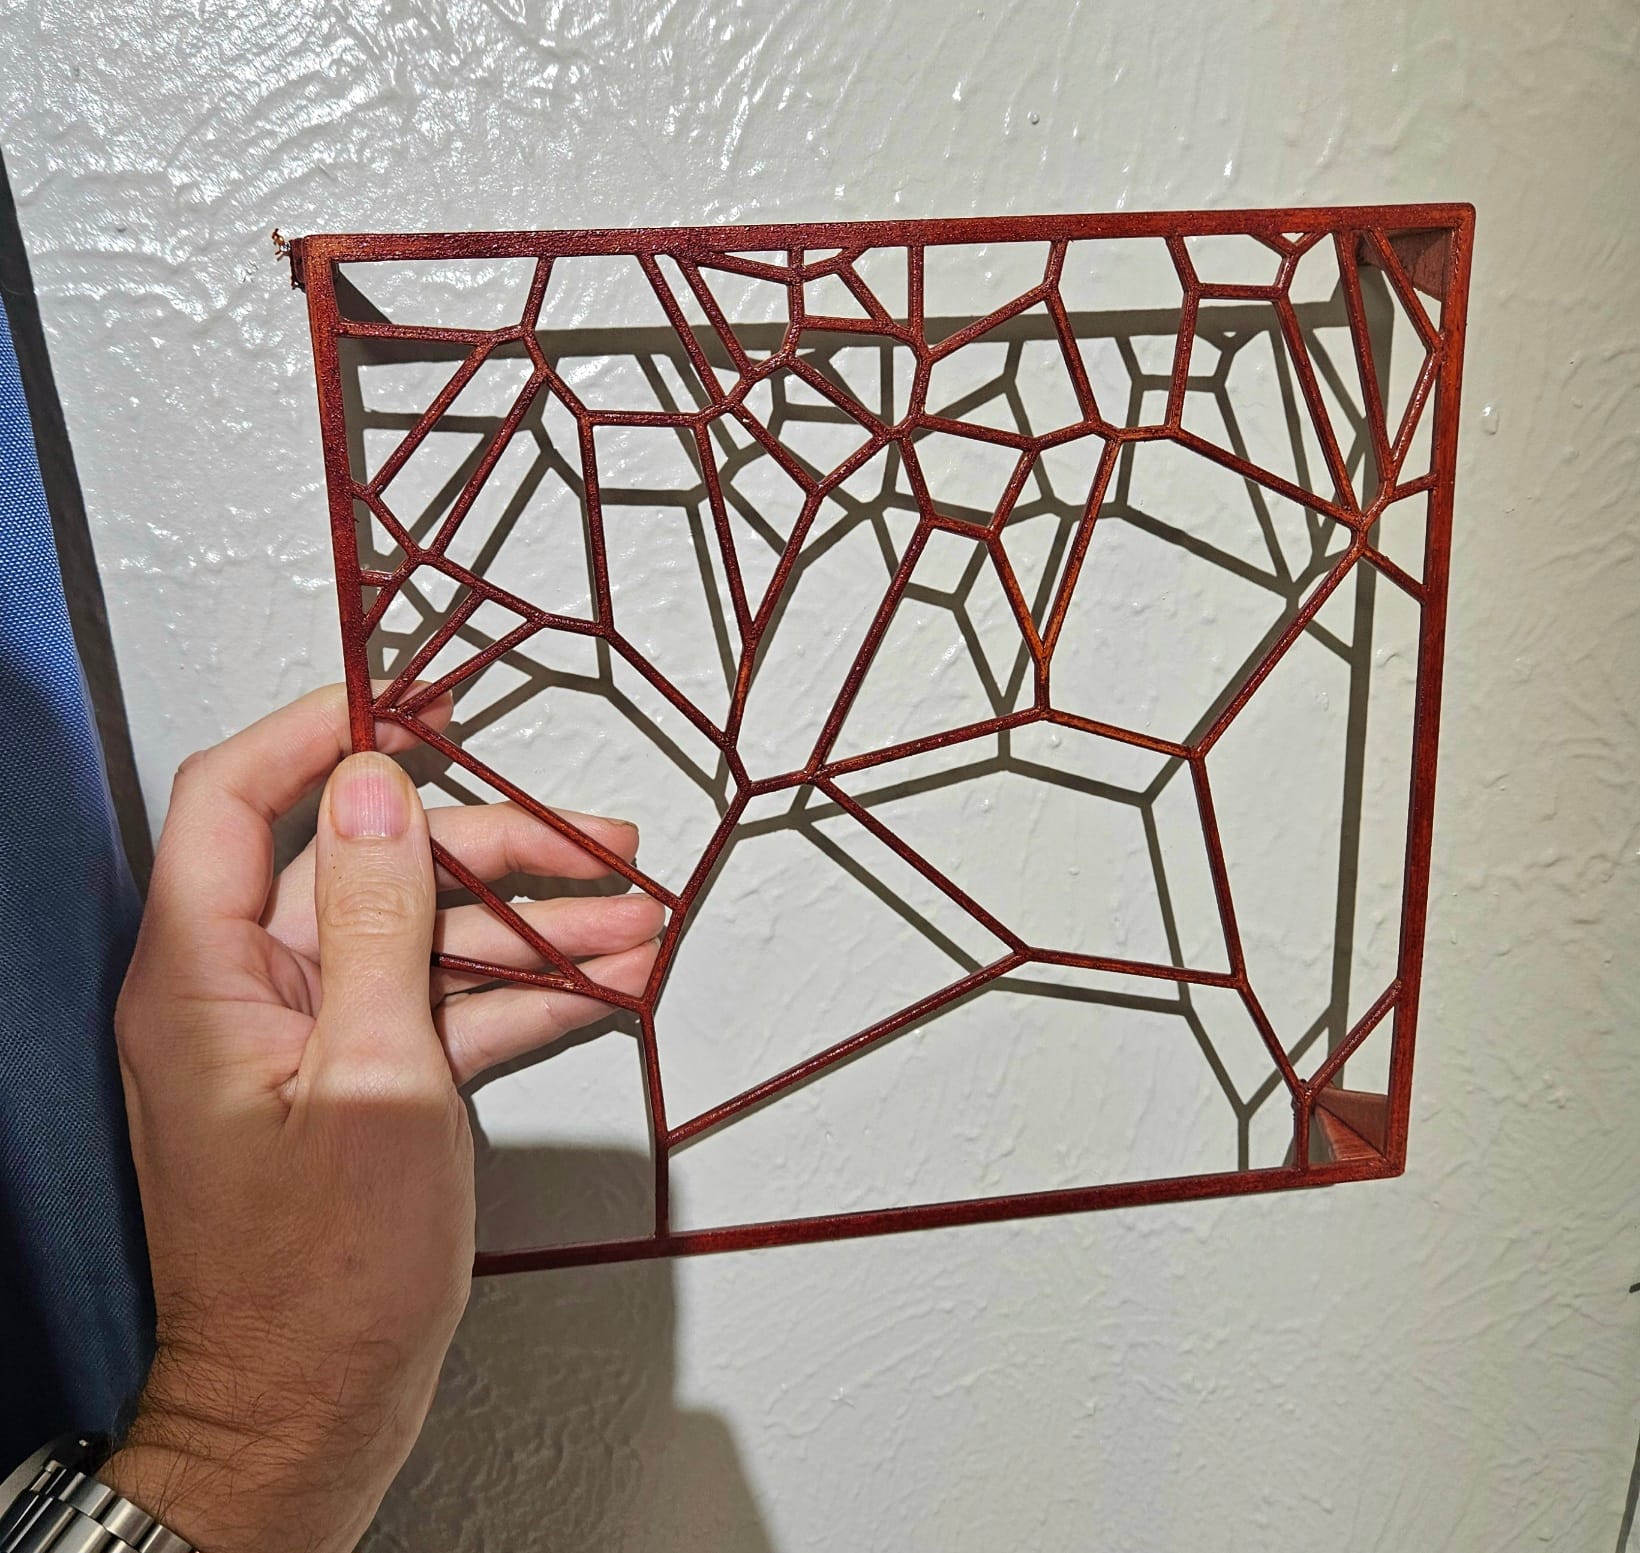
To mount the pieces a small screw is placed in the wall, no anchor necessary, then after one of the mounts is placed over the screw and the lattice is aligned, a needle is used to put a divot behind where the other mounts are. Because of the flex of the lattices due to their fragility, it was impossible to put all the screws in at once and expect everything to line up. It was a tedious process, but I finished it.
The mounting process of the lattices
All in all, I'm happy with the results. If I did it again, I would experiment with ways to attach the lattices together, maybe different panel geometries, and other stains like gels. I've attached the step files at the end of this post if you would like to replicate my work.